Age Verification
This website contains age-restricted material including nudity and explicit content. By entering, you confirm being at least 18 years old or the age of majority in the jurisdiction you are accessing the website from.
Our parental controls page explains how you can easily block access to this site.
0
Discussions for Scenes for Version 1.2.X Fullscreen Mode here Forum / Everything about iStripper
July 23, 2020 (edited)
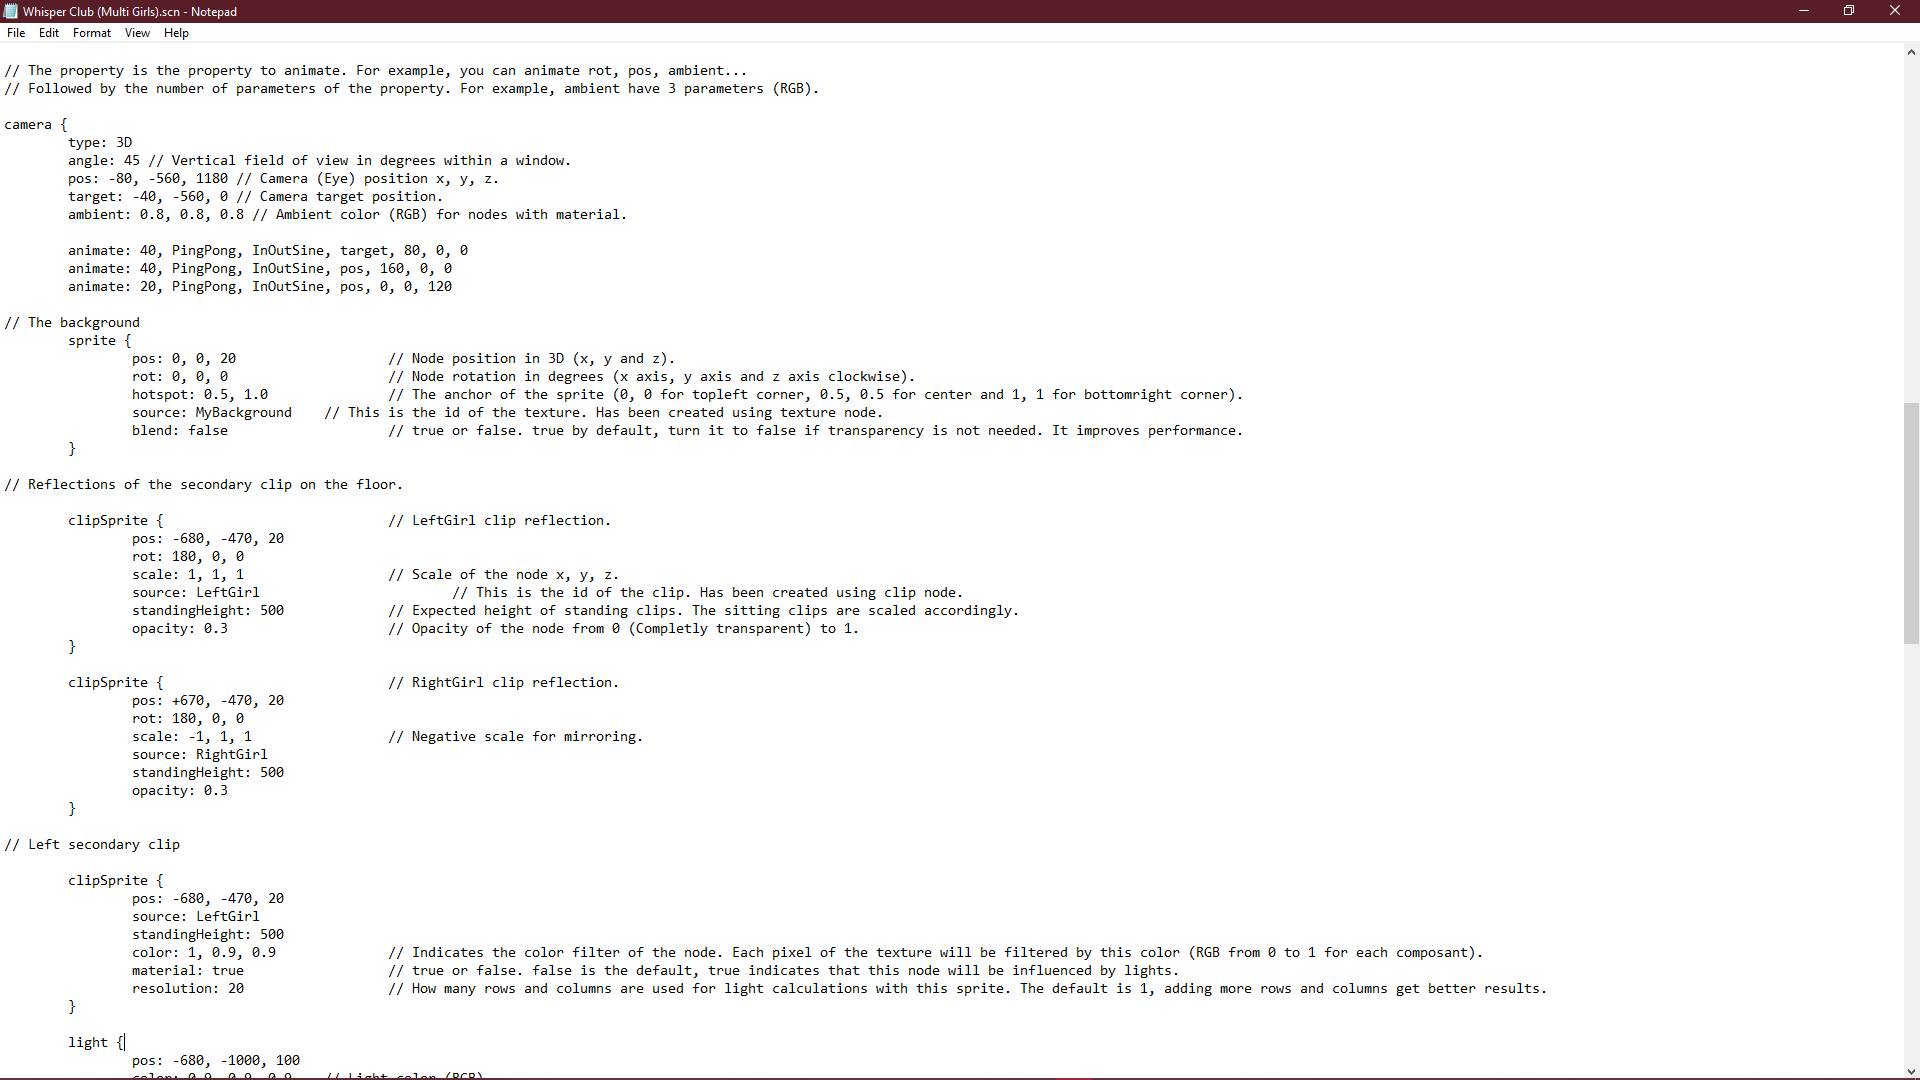
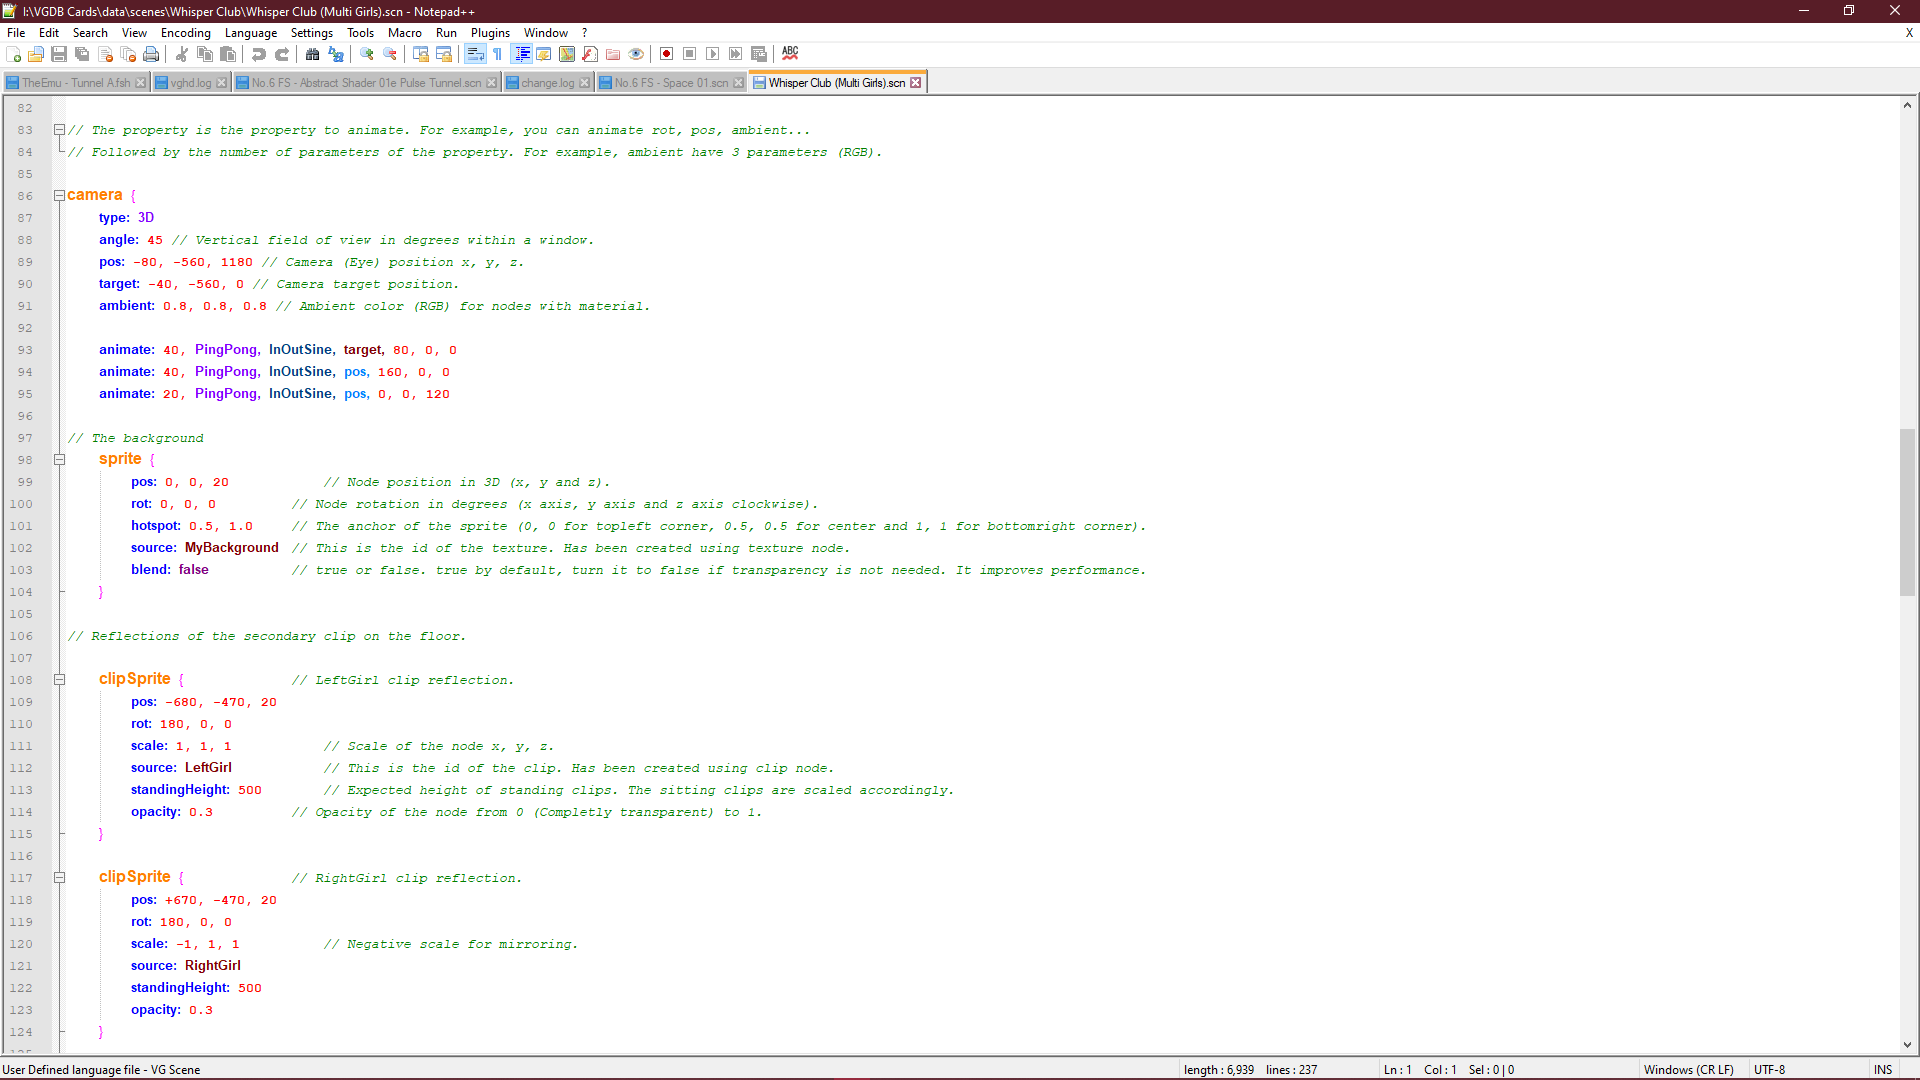
For Fullscreen scenes I would recommend using Notepad++
https://notepad-plus-plus.org/
It allows indenting of lines etc. and helps keep the formatting aligned.
If you ask @Wyldanimal nicely I am sure he will post a link to the "iStripper language" file he created for Notepad++ that assigns different colours to the various commands and statements used in the creation of scenes. This helps greatly with the formatting and some of the basic syntax for fullscreen scenes.
The first screenshot shows a section of Totem's Whisper Club scene opened in Windows Notepad.
The second screenshot shows the same section in Notepad++ and using @Wyldanimal"s language file.
HTH
x26638184
Joined in Oct 2018 189 post(s)
July 24, 2020
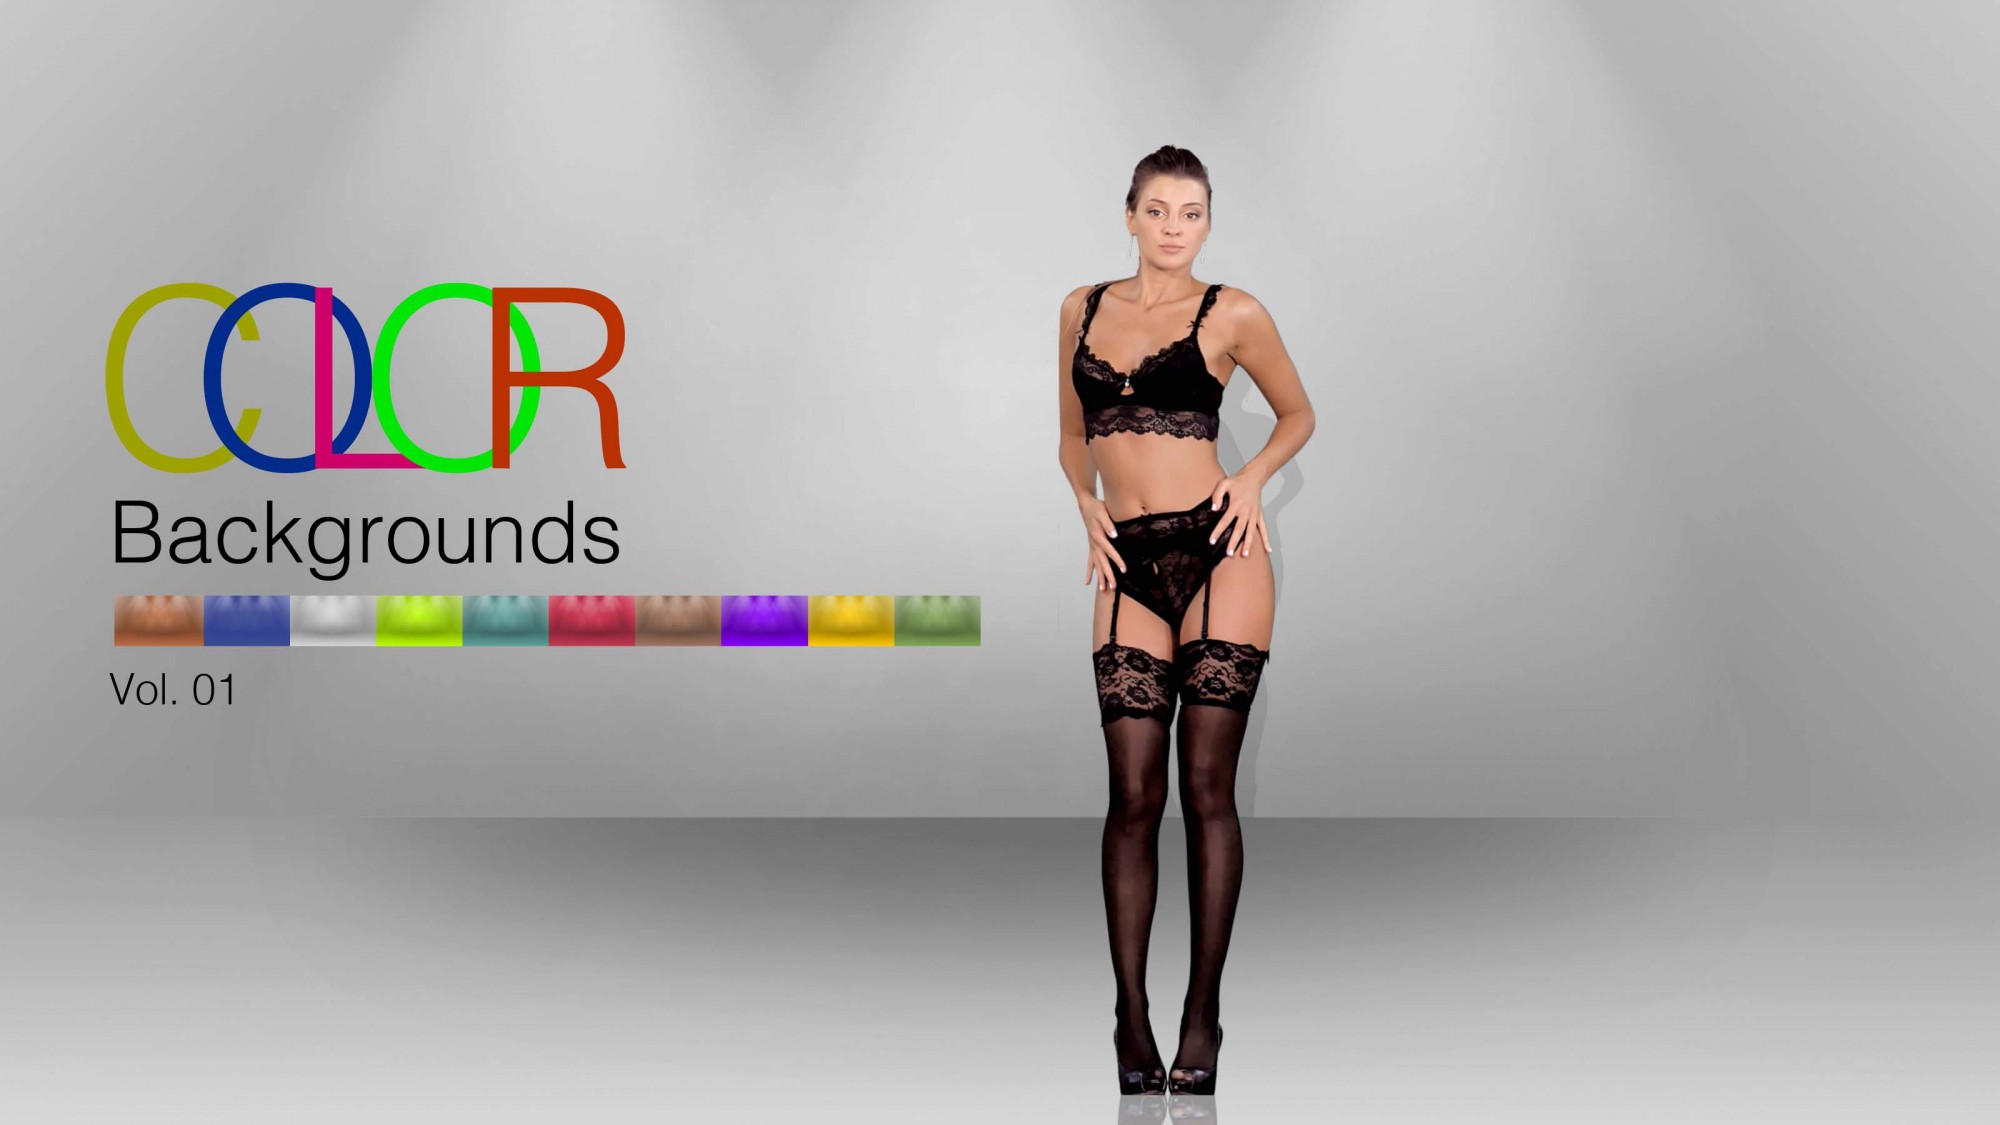
Color Backgrounds For those who like solid colors and neutral environments in scenes
Scene type: 2D Basic
License: free to use without restrictions
https://tinyurl.com/downloadscene
July 24, 2020
x26638184
Joined in Oct 2018 189 post(s)
July 24, 2020
@Wyldanimal, thanks is helpful
The new version that is in QT 5.10x supports or will support graphics .svg?
I have been testing graphics formats and have seen that it supports others besides .png and .jpg
Do you know if there is a command line that allows the display in a window and not in full screen?
The new version that is in QT 5.10x supports or will support graphics .svg?
I have been testing graphics formats and have seen that it supports others besides .png and .jpg
Do you know if there is a command line that allows the display in a window and not in full screen?
TheEmu
Joined in Jul 2012 3309 post(s)
July 24, 2020 (edited)
https://www.istripper.com/forum/thread/29408/41?post=672747
Everything about iStripper / Share your FullScreen - Member Created Scenes here
Hi Guys: I have a problem with this that I cannot solve and I think it must be in the camera configuration, would someone be so kind to help me?: https://youtu.be/1U7ge3VZl1U 0:11 Rendering error: LCD...
As is common in any 3D graphics system there is a 3D clipping box and anything that is too far away from the camera is ignored. There may be a way of altering the Z clipping distance but if so I do not know (or can't remember) what it is. The workround is to rescale everything to be nearer and smaller. I think this can be done by enclosing everything in the scene in a node {} which contains a suitable scale: clause - or maybe just use a scale: clause in the camera node itself.
EverthangForever
Joined in Oct 2009 2506 post(s)
July 28, 2020 (edited)
29th July
iSVersion redundancies: Updates & replacements for FG029, FG073 & FG074.
Note: the original .scn file for FG073 has been adjusted
because @WA 's transparency code for music1.fsh no longer appears to work
in the new 1.2.264 version of iStripper. This update uses the simple
alpha vector length exclusion for black ~ method, on both shaders instead.
Applied similar change to FractalGarden029.scn for the same reason.
@Number6
I did a propped remix using your excellent 'Fire a (No6)' multi shaders scene in lieu of FG074
because Z22 clipsprite shaders used in the old FG074 no longer appear to work there either.
zipsize = 1.14 MB
https://scenes.virtuastripper.net/ET_FractalGarden73_74.zip
Extract to ..scenes/ folder. Allow merged folders and to overwrite existing files.
July 28, 2020 (edited)
Nice one @EverthangForever
That adapted Tunnel Shader of @TheEmu"s also works well with Totem's "Floating" and "Paint" shaders.
If you want to give the Paint ones a try
https://www.dropbox.com/s/pxo0olest25uryq/paint_no6.zip?dl=0
They are not exactly the finished article.
There are a couple adapted for a 2560 x 1080 monitor for someone. I think they worked OK.
x26638184
Joined in Oct 2018 189 post(s)
July 29, 2020
Hello guys, an expert consultation:
Is it possible to make shaders (.fsh) based on colors?
Example:
1, 0, 1 // Violet
If possible, how is the file writing? (color01.fsh)
The practical use is that if in a scene I have several elements with a defined color (for example 1, 0, 1) I would only modify the .fsh file and all the elements that contain this color would be changed and not have to do it one by one.
I think you should call them this way:
source: Floor
shader: color01.fsh <----------
opacity: 1
If anyone knows, and can send me the example code, thank you in advance.
EverthangForever
Joined in Oct 2009 2506 post(s)
July 29, 2020 (edited)
@7171al71,
You can do it by using an occluding.fsh shader applied to your sampler texture
as follows :
When you are done..It is useful to save the above code as 'yourcolor.fsh' for any future use.
In the example you requested earlier, it might be..
You can do it by using an occluding.fsh shader applied to your sampler texture
as follows :
Just play with the R,G,B values separately in notepad using only one of the last three as uncommented strings, and keep applying the lot as a saved shader name to the texture/sprite node in the .scn until you get the color you want . In the .scn file, be sure to specify the correct path to the shader you are making.
uniform sampler2D texture0;
uniform sampler2D texture1;
uniform float u_Elapsed;
varying vec4 gl_TexCoord[];
float weight=0.14767;
void main(void)
{
vec4 vTexCoord = gl_TexCoord[0];
vec4 occluding = texture2D(texture0, vec2(vTexCoord.x , vTexCoord.y )) ;
gl_FragColor = vec4(0.0,0.0,0.0,occluding.a); //red,green,blue all not allowed
//gl_FragColor = vec4(0.432,0.449,0.091,occluding.a); //gold color
//gl_FragColor = vec4(0,1,1,occluding.a); //light blue color
}
When you are done..It is useful to save the above code as 'yourcolor.fsh' for any future use.
In the example you requested earlier, it might be..
gl_FragColor = vec4(1,0,1,occluding.a); //purple color
}
TheEmu
Joined in Jul 2012 3309 post(s)
July 29, 2020 (edited)
@7171al71
If what you want to do is apply the effect of a shader only to pixels having a specific colour then you just use a conditional based on that colour, as follows
This is a basic Colour Seperation Overlay process - more commonly called Green Screen or Blue Screen depending on the colour being used. Done this crudely it can leave ugly edge effects but whether or not that is a problem depends on what you are using it for.
The target colour and threshold could be passed to the shader as uniform variables rather than hardcoded, then you could specify them in the .scn file.
One ***** thing, the colour (1,0,1) is more commonly called magenta. Red, Green, Blue being the primary colours (R,G,B) and Cyan,Magenta,Yellow (C,M,Y) the secondary colours obtained by adding any two of the primaries.
If what you want to do is apply the effect of a shader only to pixels having a specific colour then you just use a conditional based on that colour, as follows
// Only pixels having the following colour are to be affected
const vec3 TargetColour = vec3(1.0,0.0,1.0);
// Allow a little mismatch with the target colour
const float Threshold = 0.001;
void main ( void )
{
// Default to leaving the pixel unchanged
gl_FragColor = gl_Color;
// If the colour of the pixel is close to the target colour
// then apply whatever transformation you want
if ( distance(gl_Color.rgb,vec3(TargetColour)) <= Threshold )
{ // Put your particular shader code here
}
}
This is a basic Colour Seperation Overlay process - more commonly called Green Screen or Blue Screen depending on the colour being used. Done this crudely it can leave ugly edge effects but whether or not that is a problem depends on what you are using it for.
The target colour and threshold could be passed to the shader as uniform variables rather than hardcoded, then you could specify them in the .scn file.
One ***** thing, the colour (1,0,1) is more commonly called magenta. Red, Green, Blue being the primary colours (R,G,B) and Cyan,Magenta,Yellow (C,M,Y) the secondary colours obtained by adding any two of the primaries.
x26638184
Joined in Oct 2018 189 post(s)
July 29, 2020

@EverthangForever: Thanks it works, I can quickly change everything I define under the color, but the problem is that it ***** the transparencies (opacity). It's like you will apply the color at 100% of the value.
.fsh code:
uniform sampler2D texture0;
uniform sampler2D texture1;
uniform float u_Elapsed;
varying vec4 gl_TexCoord [];
float weight = 0.14767;
void main (void)
{
vec4 vTexCoord = gl_TexCoord [0];
vec4 occluding = texture2D (texture0, vec2 (vTexCoord.x, vTexCoord.y));
gl_FragColor = vec4 (1,0,1, occluding.a); // light blue color
}
Partial code of a scene object:
// Rear Wall
Sprite {
pos: 0, 0, -6000
size: 12000, 3600
rot: 0, 0, 0
hotspot: 0.5, 1 // HOTSPOT: Center, down
source: GuiaMuralla
material: true
blend: true
shader: color01.fsh // <---- COLOR
opacity: 0.3
}
Any suggestion?
TheEmu
Joined in Jul 2012 3309 post(s)
July 29, 2020 (edited)
Try replacing
gl_FragColor = vec4 (1,0,1, occluding.a);
with
gl_FragColor = vec4 (1,0,1, occluding.a*gl_Color.a);
Anything you specify via the color: and opacity: clauses in a node in the .scn file are passed to the shader via the gl_Color vector. If you use a shader it is up to the shader itself to use these values they are not applied automatically as they are if you do not use a shader (in reality there is a default shader that uses them and if you supply your own shader then that replaces the default shader and if you need some of the things done by the defalut shader then you have to do it yourself)
My previous post had an error in it, please ignore that post. I will post a proper version later.
TheEmu
Joined in Jul 2012 3309 post(s)
July 29, 2020 (edited)
Here is the corrected (but untested) version of what I had previously posted. I posted the first before I was properly awake (i.e. before coffee).
// The image that is to be manipulated.
uniform sampler2D iChannel0;
// Constants contoling the shader
vec3 TargetColour = vec3(1.0,0.0,1.0);
float Threshold = 0.001;
// Utility function
vec2 Emu_Normalise_to_Window ( vec2 xy ) { return xy / u_WindowSize.xy; }
// The shader itself
void main ( void )
{
// Get the normalised pixel coordinates.
vec2 uv = Emu_Normalise_to_Window ( gl_FragCoord.xy );
// Optionaly apply any coordinate transforms if applicable
// for example: uv = ( uv - hotspot ) / scale + hotspot;
// Get the source pixel, use it as the default for the output
vec4 gl_FragColor = texture2D ( iChannel0, uv );
// If the pixel's colour is close to the target colour
// then apply whatever transformation you want
if ( distance(gl_Color.rgb,TargetColour) <= Threshold )
{ // Put your particular shader's code here. It should assign
// values to the four components of gl_FragColor
}
// Optionally apply opacity: factor specified in the .scn file
// You can do something similar for the color: factors as well.
gl_FragColor.a = gl_FragColor.a * gl_Color.a;
}
x26638184
Joined in Oct 2018 189 post(s)
July 29, 2020
@TheEmu, I am going to review and test what you tell me and if someone wants to play, I leave the link of the scene (it is a test version) Several options are disabled but it runs fine. (I use it to understand things) Times, animation curves, etc, etc and as a screensaver sometimes. (When you want to concentrate a pair of tits on top it's very distracting ... 😂 )
It's almost the final version, then I upload the final .scn, rename the folder and voila (Download all the content and the rest, everyone knows it)
(0) HSB - Pruebas
https://drive.google.com/drive/folders/1K4GY0Pq8FK6pjMPUcT53wFnz76VeYKys
Test Dumy = (0) HSB® SC01 - Test.scn
Test Color = (0) HSB® SC01 - 0º (colors).scn <-----Semi Full Version
x26638184
Joined in Oct 2018 189 post(s)
July 29, 2020
@TheEmu: Thanks, I tried the change you suggested to me, in the. png works quite well 😍 , but in the reflection of the model it fills it completely by removing the natural transparency of tones. (there we are bad 😕 ).
The same is good progress and will serve you well.
uniform sampler2D texture0;
uniform sampler2D texture1;
uniform float u_Elapsed;
varying vec4 gl_TexCoord [];
float weight = 0.14767;
void main (void)
{
vec4 vTexCoord = gl_TexCoord [0];
vec4 occluding = texture2D (texture0, vec2 (vTexCoord.x, vTexCoord.y));
gl_FragColor = vec4 (1, 1, 0, occluding.a*gl_Color.a); // Name color
}
Z22
Joined in Aug 2017 1166 post(s)
July 29, 2020
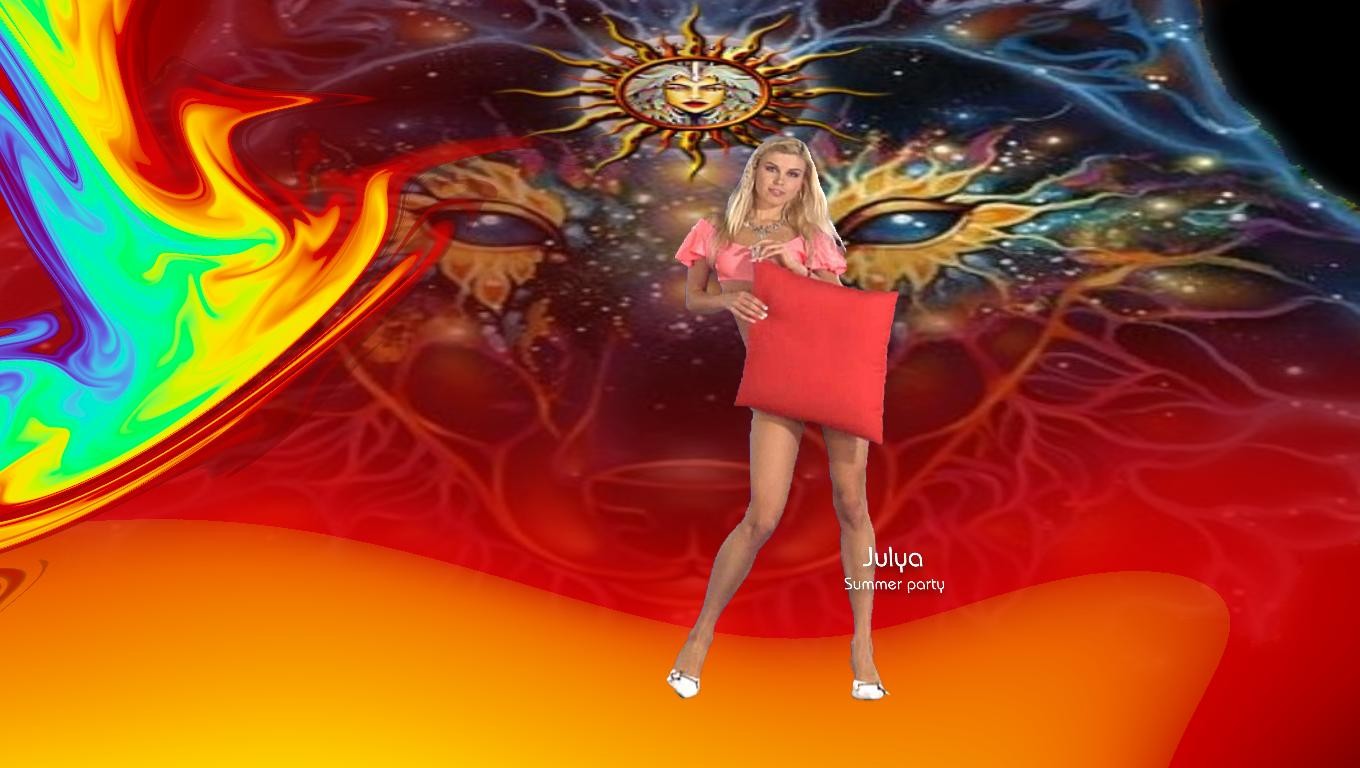
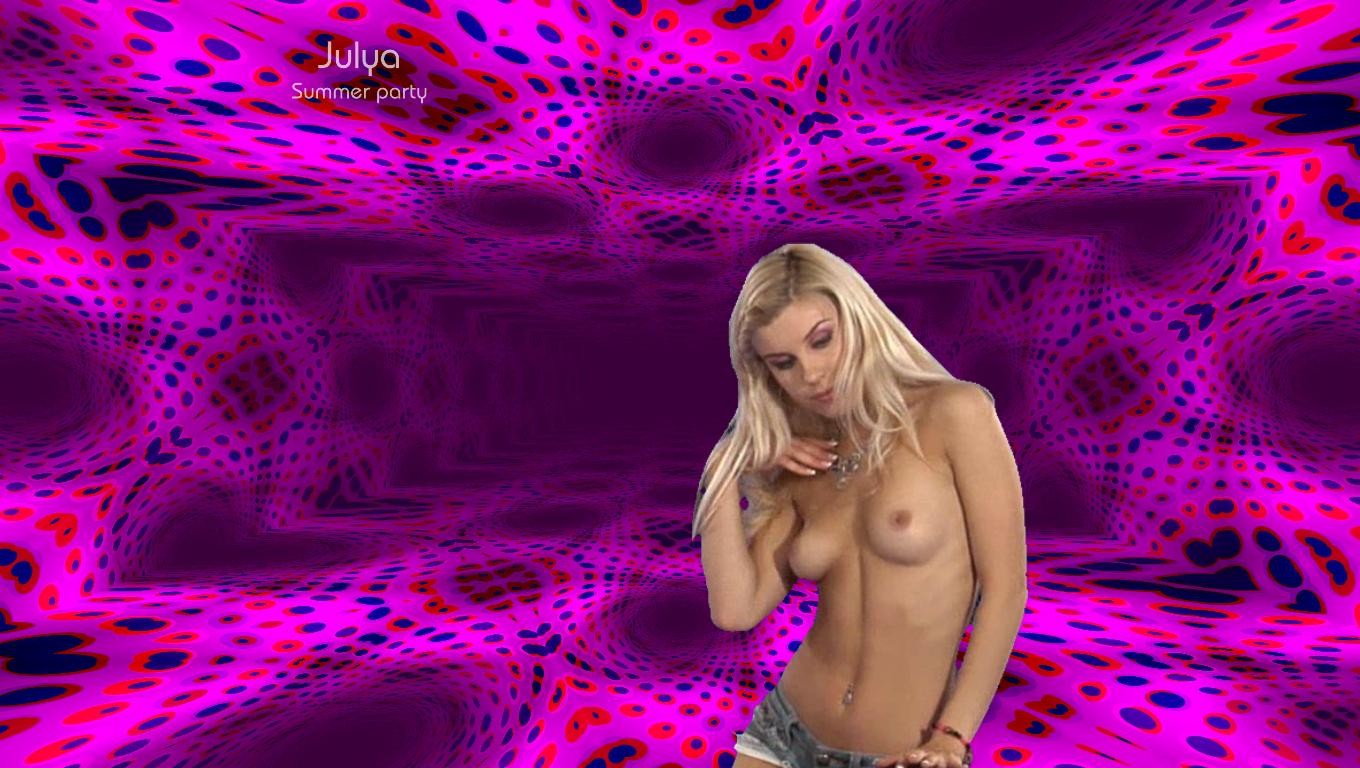
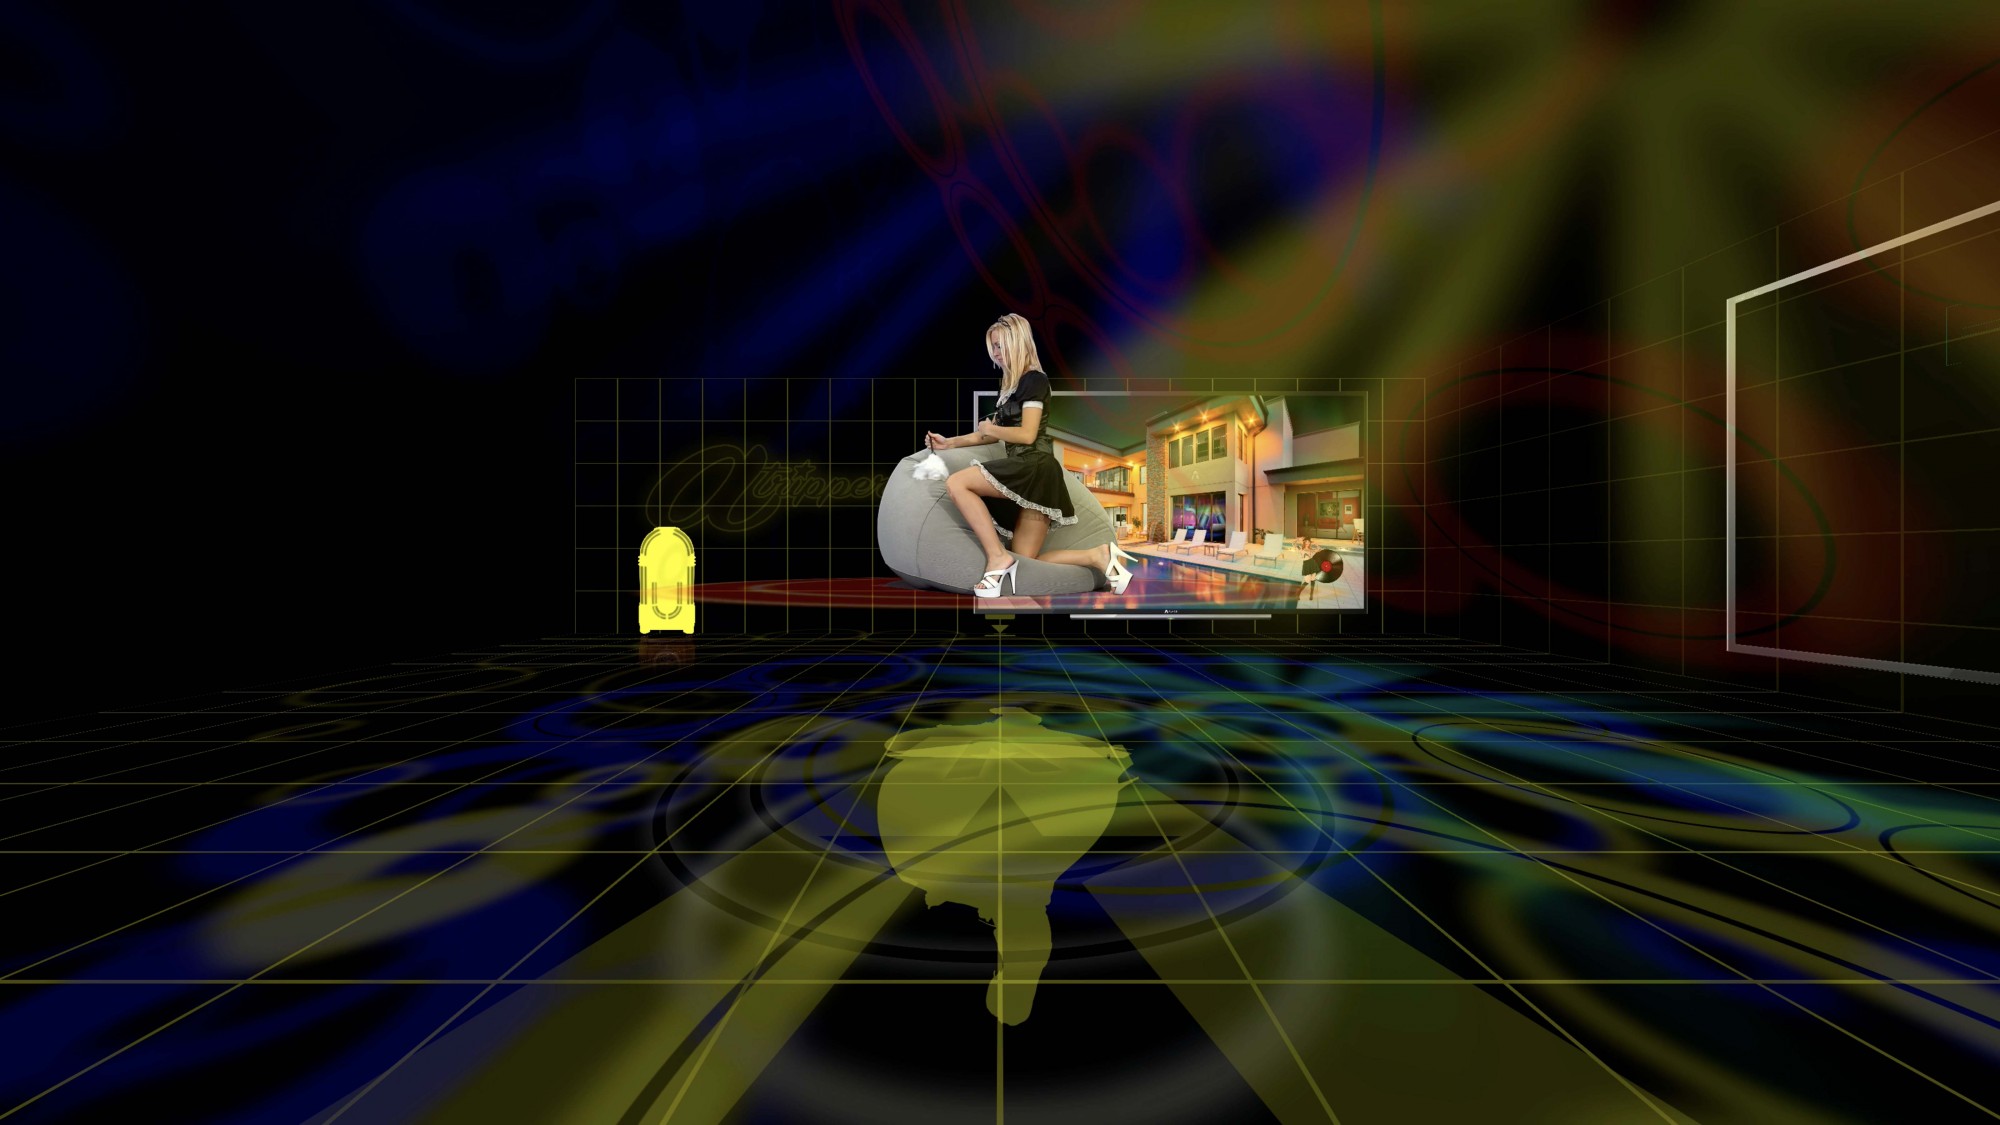
What the smeg are you guys trying to do? Transparancy looks fine in 7171al71's image (just look how the "light" falls on the girl on the cushion).
@7171al71, can you make a mock up in photoshop of what you are trying to make a shader do?
@7171al71, can you make a mock up in photoshop of what you are trying to make a shader do?
Z22
Joined in Aug 2017 1166 post(s)
July 29, 2020
Are you trying to use the input image as a mask where if the alpha is not zero the colour (in this case) is solid purple, or are you trying to tint the input image purple?
Z22
Joined in Aug 2017 1166 post(s)
July 29, 2020 (edited)
If you just want to tint the input image...
void main(void)
{
vec4 input = texture2D(texture0, vTexCoord.xy);
vec3 modifier = vec3 (1.0, 0.0, 1.0); //purple
gl_FragColor = vec4( input.rgb*modifier, input.a );
x26638184
Joined in Oct 2018 189 post(s)
July 29, 2020
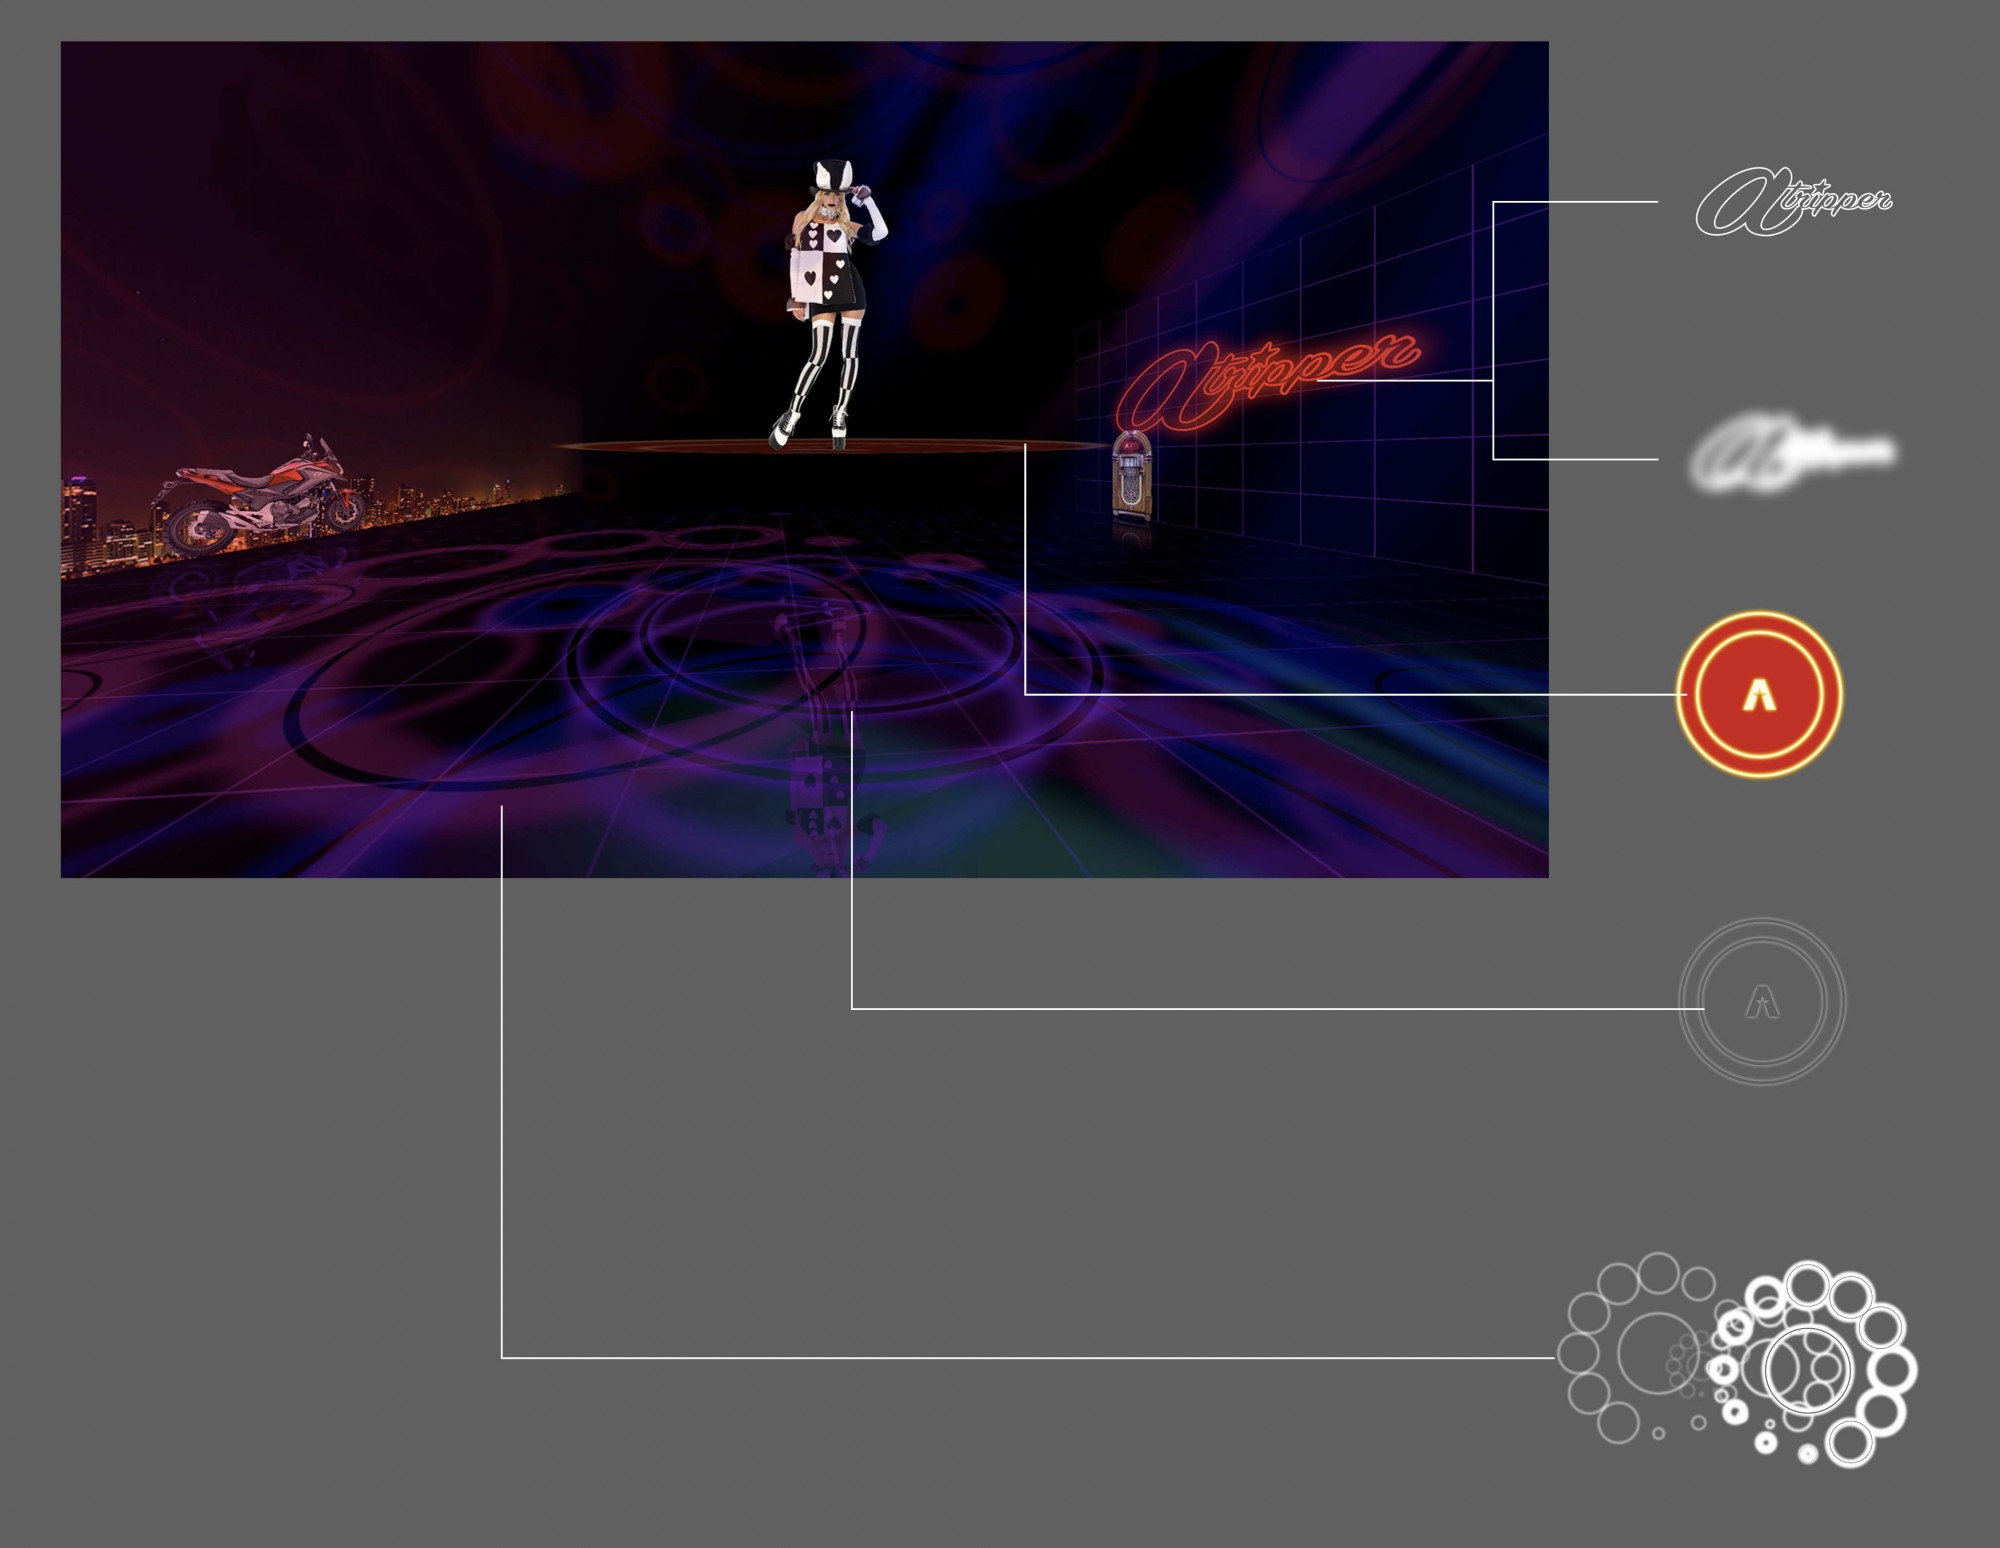
Hi @Z22: This can help you understand
That is the final look of the scene, but I can ***** it as I want, if I want the logo of one color, the reflection of another, the color of the walls, etc., etc. The color was applied in the scene not in the object in many cases:
Example
source: object (.pngs are white so you can assign the color you want)
color: 1, 0, 1 (or the color you want)
opacity: 0.3 (or whatever value you need)
the idea is to create a .fsh that contains a specific color and that this applies to the different elements, something that if I want for example the logo of one color, the walls and reflections of another and the lights of another, change only the definition of 3 .fsh files and not having to change one by one. The @TheEmu and @EverthangForever solution works partially, but ***** the natural transparency in the clip reflections.
The same can be done quickly using find / replace in the text editor, but a more elegant and functional solution would have been practical for other things.
Z22
Joined in Aug 2017 1166 post(s)
July 29, 2020
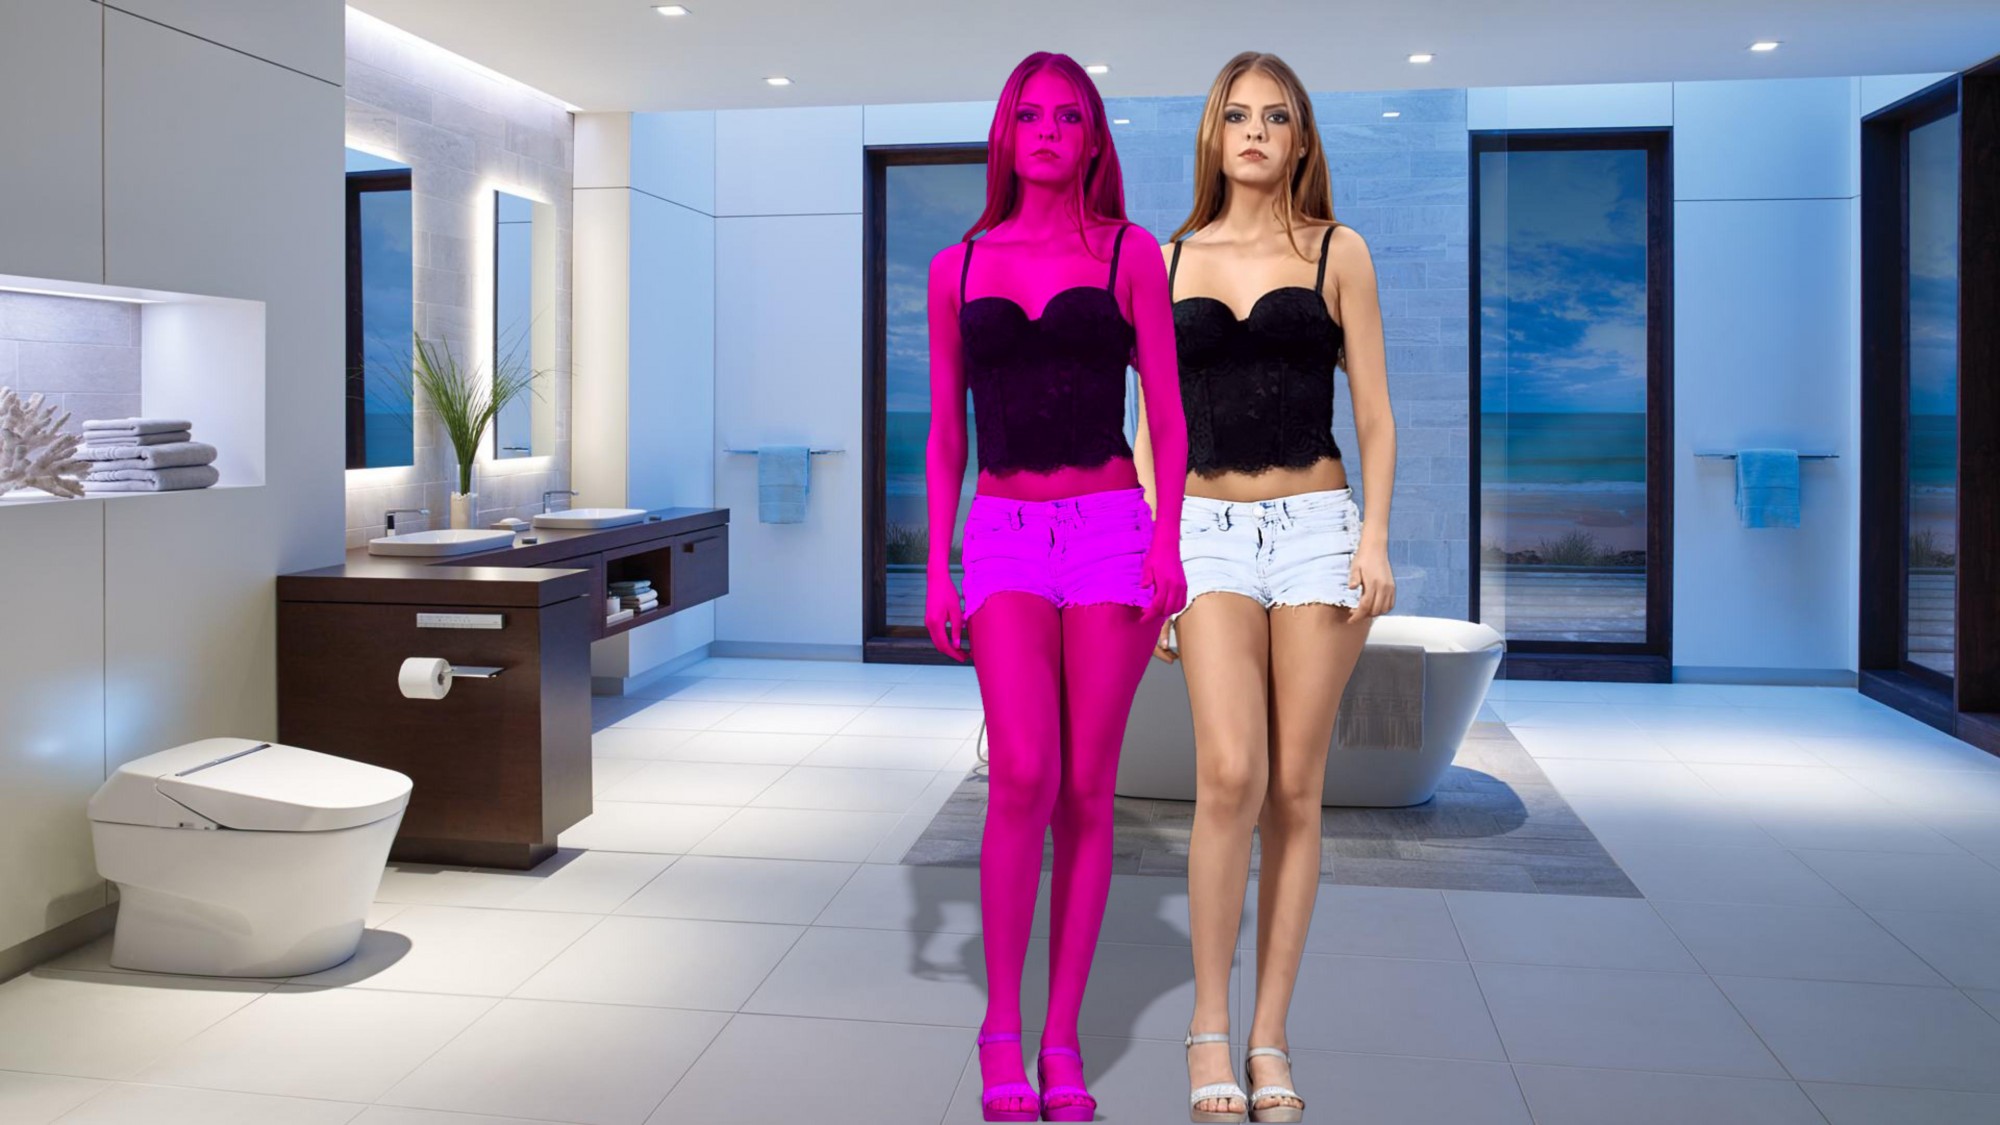
So you want the reflection of the girl to be tinted a colour like in this picture?
TheEmu
Joined in Jul 2012 3309 post(s)
July 29, 2020
So you want the reflection of the girl to be tinted a colour like in this picture?
If so then why not just do it without a shader ? Just use a color: clause in the appropriate node.
Z22
Joined in Aug 2017 1166 post(s)
July 29, 2020 (edited)
I think he just wants a shader to tint the input image so he can change all the different sprites colour in one go by altering one line in the shader rather than every occurance of "color:" in the .scn.
Z22
Joined in Aug 2017 1166 post(s)
July 29, 2020
As you say he could wrap all those items in a node then apply color: 1.0, 0.0, 1.0 just once for the entire node.
Z22
Joined in Aug 2017 1166 post(s)
July 29, 2020
something like
note... not real code
camera blah blah blah
node {
sprite {
floor stuff
}
sprite {
wall stuff
}
sprte {
girl reflection
}
color: 1.0, 0.0, 1.0
}
note... not real code
TheEmu
Joined in Jul 2012 3309 post(s)
July 29, 2020
Or he could use an end of line comment as a tag to distinguish the different uses of a particular colour something like
color: 1.0, 0.0, 1.0 // Tint XYZ
and then use a global replace that included the tag so that there are no accidental matches to other usages.
color: 1.0, 0.0, 1.0 // Tint XYZ
and then use a global replace that included the tag so that there are no accidental matches to other usages.
x26638184
Joined in Oct 2018 189 post(s)
July 29, 2020 (edited)
@Z22, you understood perfectly what I want to do !!! 👍 👍 👍 👍
As an absurd example, that the color of the logo is the same as the reflections.
When you digitally illustrate, you define a color palette and if you want to make quick changes, you redefine the “color” instead of taking 5 min, it takes 2 sec, you didn't like the change? you change again and in seconds you tried 1 or 20 multiple combinations.
In fact, the entire scene itself is developed under that concept (bee panel is called in Spanish)
TheEmu
Joined in Jul 2012 3309 post(s)
July 29, 2020 (edited)
@7171al71
If you use the "tagging" method I outlined coupled with a half way decent text editor (I use Notepad++) it also only takes about a second to try new values for a colourisation. I often use such a method.
I would prefer it if the .scn language supported simple macros so that you could write something like
and have %ColourX automatically be replaced by 1.0, 0.0, 1.0 when the .scn file is read. Even just using the standard C preprocessor (with all its failings) would help.
If you use the "tagging" method I outlined coupled with a half way decent text editor (I use Notepad++) it also only takes about a second to try new values for a colourisation. I often use such a method.
I would prefer it if the .scn language supported simple macros so that you could write something like
define ColourX 1.0, 0.0, 1.0
blah blah blah
color : %ColourX
and have %ColourX automatically be replaced by 1.0, 0.0, 1.0 when the .scn file is read. Even just using the standard C preprocessor (with all its failings) would help.
Z22
Joined in Aug 2017 1166 post(s)
July 29, 2020
I haven't gone through your scene properly but you can do somethinbg like this with all the elements you want to change the colour, ps. you can even animate it as long as the animate command is inside the node.
node {
//Moto////////////////////////////////////////////////////////////////////////////////////////
//Moto SOMBRA
sprite {
pos: -3500, 0, 6000// 5950
size: 2643, 1662
scale: -0.8, -0.8 // Primer valor debe ser inverso (-1, 1) para una correcta visualización
rot: 0, 180, 0
hotspot: 0.5, 1 // centro, abajo
source: Moto
material: false // don't actually need this unless you have specified lights/ambient light.
blend: true
//color: 0.5, 0, 1 //removed to avoid confusion
opacity: 0.3
}
//Moto NORMAL
sprite {
pos: -3500, 0, 6000// 5950
size: 2643, 1662
scale: -0.8, 0.8 // Primer valor debe ser inverso (-1, 1) para una correcta visualización
rot: 0, 0, 0
hotspot: 0.5, 1 // centro, abajo
source: Moto
material: true
blend: true
//color: 1, 1, 1 //removed to avoid confusion
opacity: 1
}
color: 1.0, 0.0, 1.0 // this will effect both sprites in this node
} // this bracket closes the node
x26638184
Joined in Oct 2018 189 post(s)
July 29, 2020 (edited)
@Z22: The tips are good, thanks a lot I'll see how to reorder. The problem with this is sometimes the order of the armor layers that if I don't do it right it can look fatal.
The tips of the .fsh shader works well, for example the lines you change all at once (they are 4, so you make 1 only change and not 4). The logo is the same (it is made up of 2 elements and I only change 1 shader. Reflections should be 1 (reflections of 3 models, motorcycle reflection, jukebox, disco and several more)
Add a folder called ¨Shaders¨ and you can test with the file ¨ (0) HSB® SC02 - 180º.scn¨
The finish of this really surprises me every day (I never imagined that the software will endure something so complex). Visually playing with perspectives and other gadgets, it makes the software very entertaining and with good hardware it is really a delight.
Cleaning on the air
https://youtu.be/cYopkU9tOgw
Test Dummy
https://youtu.be/PtyJxEjr5YM
This video is very rich in that aspect, some shots, movie games, etc, etc. but with a big defect (the planes overlap incorrectly) - in the 360 turn of 45º it shows - and here I declare myself a novice-novice in this since I do not know if it is a failure in the construction of the file or limitations of the software. If people with more experience purify and correct it, it would be from another world.
Z22
Joined in Aug 2017 1166 post(s)
July 29, 2020
Test dummy @1:34 Yeh, i see what you mean the girl and small tv are ontop of the large tv when they should be behind. It looks like a depth buffer problem. I haven't really done much with the 3D camera.
Are those walls on quads or are they sprites?
Are those walls on quads or are they sprites?
You are not allowed to participate yet
As a free user of iStripper, you are not allowed to answer a topic in the forum or to create a new topic.
But you can still access basics categories and get in touch with our community !